
Generating screenshots with Lighthouse
Lighthouse captures the rendering timeline of a page in 10 images. Do you need to store them? If yes, keep reading in order to learn how to store these images.

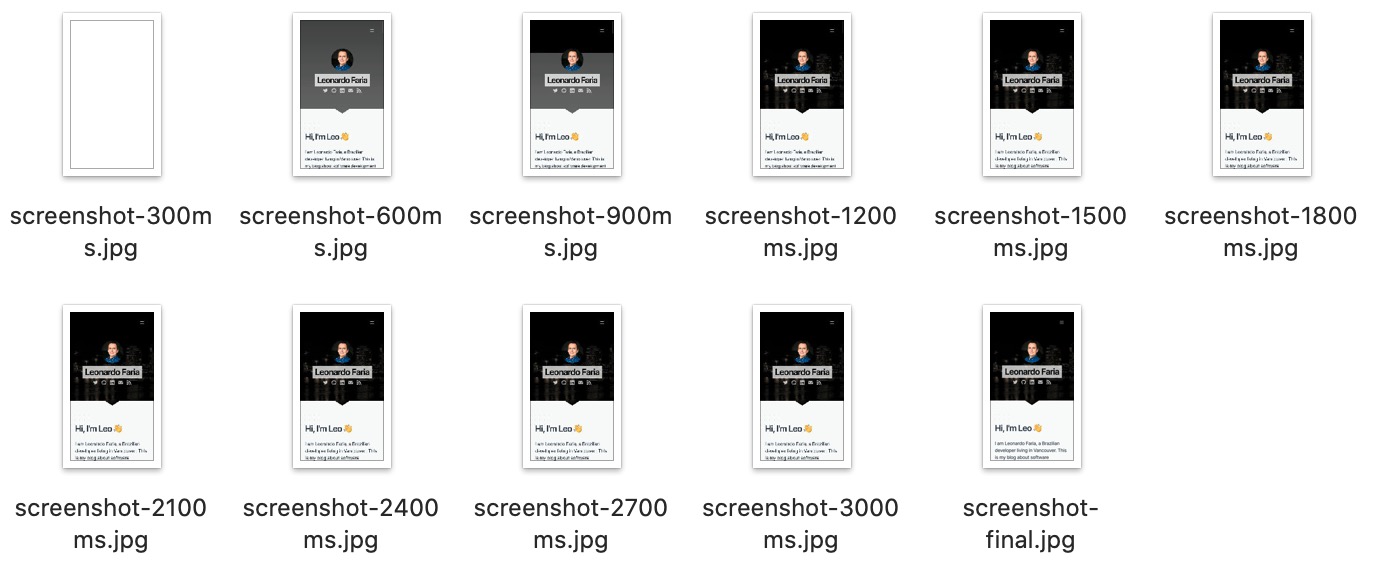
The filmstrip above reveals how a page is rendered in a browser and gives us an opportunity to understand what is slow. For example, blank screenshots in the beginning is a sign that the First Contentful Paint ↗︎ is too slow.
In this post you will learn where these images are stored and how to store them in a file system. Here is the script (from my lighthouse-examples GitHub repository):
const { writeFileSync } = require('fs');
const lighthouse = require('lighthouse');
const chromeLauncher = require('chrome-launcher');

(async () => {
  const chrome = await chromeLauncher.launch({chromeFlags: ['--headless']});
  const options = {port: chrome.port};
  const { lhr: { audits } } = await lighthouse('https://leonardofaria.net', options);

  audits['screenshot-thumbnails'].details.items
    .forEach(({ timing, data }) => {
      debugger;
      const screenshot = data.split(';base64,').pop();
      const screenshotFile = `screenshot-${timing}ms.jpg`;
      writeFileSync(screenshotFile, screenshot, { encoding: 'base64' });
    });

  const finalScreenshotFile = `screenshot-final.jpg`;
  const finalScreenshot = audits['final-screenshot'].details.data.split(';base64,').pop();
  writeFileSync(finalScreenshotFile, finalScreenshot, { encoding: 'base64' });

  await chrome.kill();
})();
Let’s dig into the magic. Starting in line 10, we loop in the screenshot-thumbnails audit the images captured by Lighthouse. Notice that images are encoded in the Base64 format ↗︎, and along with their content, Lighthouse also stores when they happen.
The script will create 11 image files as shown below.
Desktop dimensions
By default, the device emulated in Lighthouse is a Moto G4, with a 5.5 inches screen (1920 x 1080). We can tweak that and emulate a Desktop by setting the emulatedFormFactor to desktop. The options variable will look like this:
const options = {port: chrome.port, emulatedFormFactor: 'desktop'};Why do we need this?
This script is useful in order to closely follow what is being rendered on a page or web app. In my particular case, I am storing only the final screenshot for future reference (ex. is this the right page?).
Can you think of different uses? Let me know in the comments!